I need greeting cards and I rarely buy them. I make them. Here's today's cards. Started with white card stock, glued down a vintage dictionary page then washed them with a soft pink matte paint. Punched one inch circles from a variety of scrapbook paper to use as the flower pedals. The leaves are cut from vintage wallpaper. I'll make the original cards but also scan them and reuse them over and over by adding my own sayings like "hello" "thank you" either using a cool calligraphy pen or printed words.
Showing posts with label Cards. Show all posts
Sunday, August 23, 2020
Monday, December 2, 2019
This year's card, Part 3
Scoured the internet looking at label image ideas. I found this great looking one which will be perfect. I used Photoshop to edit and clean it up so I could use it as my mailing label! I love, love, love how it looks. Handmade envelopes are ready, too.
Working on embellishing my card images. And of course, my printer needs ink so no printing as of today. Ordered ink and it's on it's way!
Wednesday, November 27, 2019
This year's card, Part 2
Working on the envelopes. I couldn't find what I want on any online shops. So what do you do? Make your own envelopes! I made a template and I'm using a green tinted paint mask off paper I got at home improvement store. I love the feel of the paper and it's study but thin. It'll work perfect for my handmade cards!
Monday, November 25, 2019
This year's card
Sneak peek....
Vintage (public domain) images I found on the internet. Resized them, desaturated, and painted using my iPad and Procreate app. I have more embellishing to do! So far I love love love!
Saturday, December 30, 2017
2017 Christmas Cards
It all started with dressing up my vintage camper in her holiday attire. This was a fun day. I printed them out two by two. Inside message, signatures, and logo all printed, what a time saver.
| I love this paper cutter, accurate and quick. |
| I added glitter and some gold glitter stars onto the wax. I could of added more stuff, but I had over 80 cards to make and I was running out of time |
![]() |
| Addressed and stamped ready to mail! |
Monday, December 11, 2017
Camper Christmas Love!
Me & my 1960's vintage camper! I love love love my camper. We dressed her up for the holidays!
I'm using this photo as the inspiration and the base of my Christmas card this year.
Monday, December 4, 2017
2017 Christmas card!
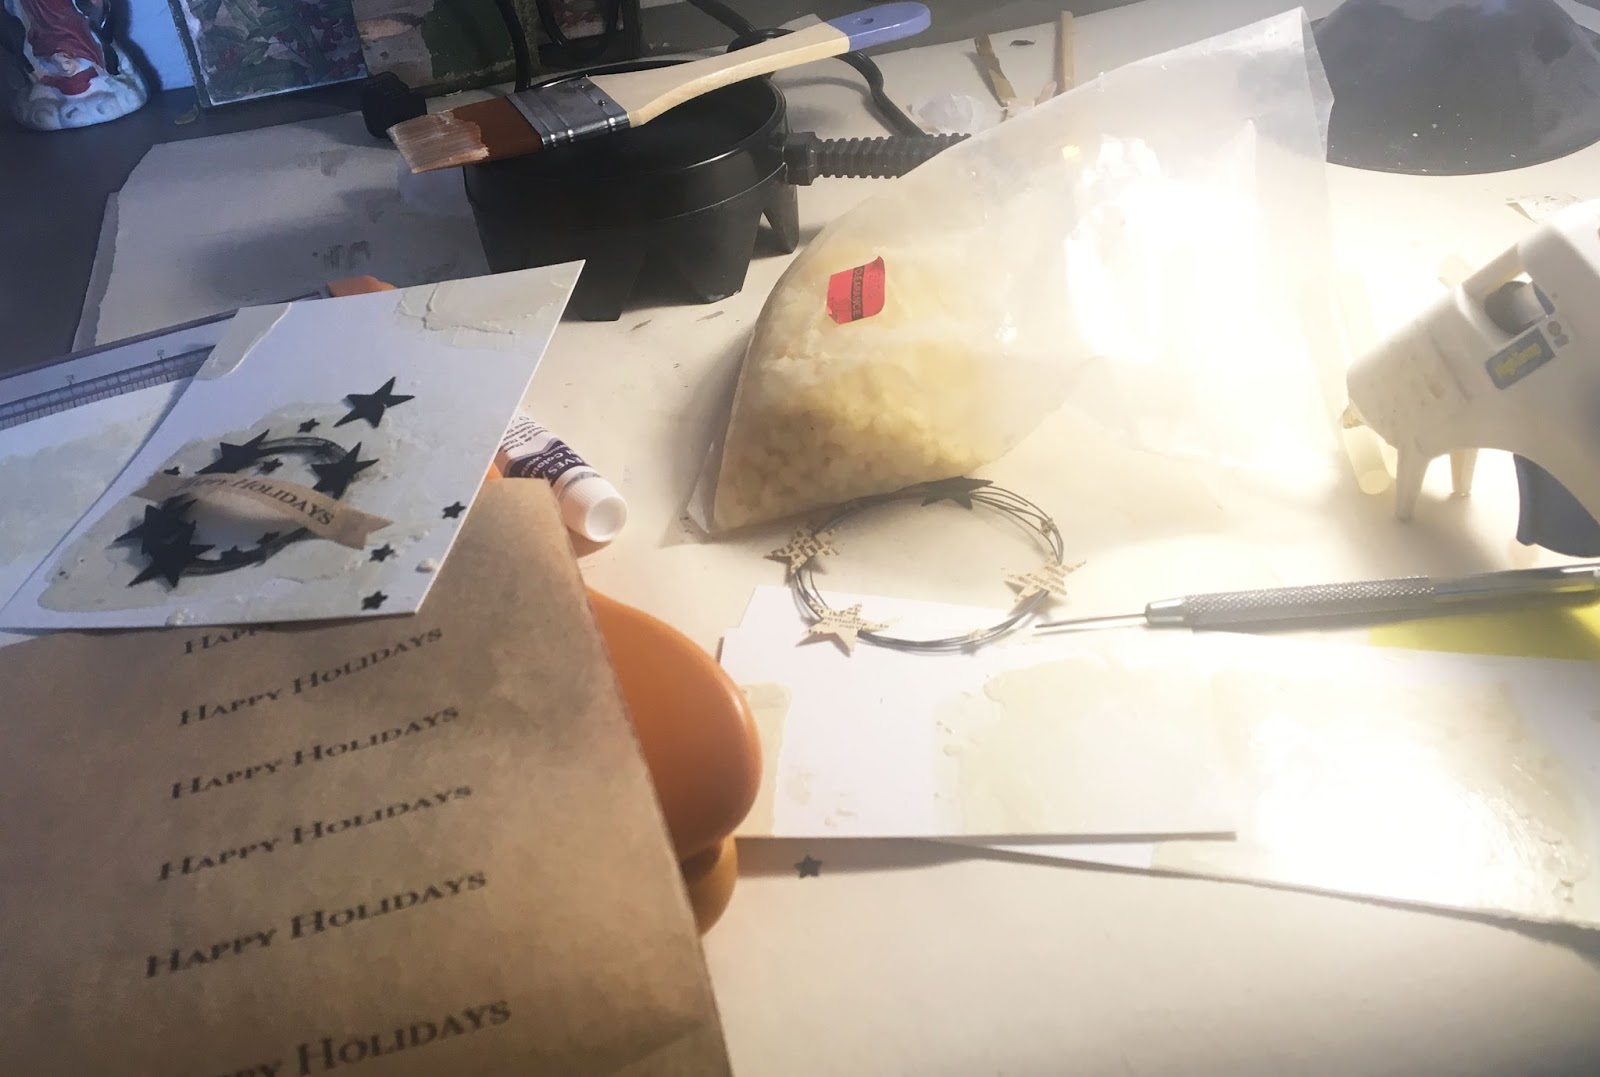
Working on this year's Christmas cards. I took an on-line class on encaustic wax and decided to use it in a very basic way on my cards. I love this medium and it does offer some challenges. Today I'm practicing with the wax and paper types. I also am trying to add color to the natural color wax. After several attempts I think I got the final draft. It'll take six to seven steps, which I need to multiple by number of cards and envelopes! Good thing I have time to get cards made and mailed on time this year.
Monday, September 29, 2014
Announcement - Invite card
Here's the final product. It came out so nice. For some reason I was really challenged with centering the back with the front image...ugh After a number of attempts with my printer I got it right. I paired it up with a light brown envelope. Very happy with the final product.
Way to go Christine!!
We went out to a local park to get the perfect sunset photos, but instead the sky was boring, well it was really wasn't - it was a beautiful blue color as usual in Arizona!
I took about 100 shots, but this one was the first one I took and it was perfect for her announcement/invitation! She's an awesome young lady and as beautiful.
Another shot that was a close 2nd.
She's done!!!
While we were trying to get a sunset photo near the yellow flowers the bees and bugs started flying around and Christine was scared of the bugs! She wouldn't stand still...the red balloon was probably attracting the bees...didn't have the heart to tell to let the balloon go and she would be fine....ha ha
It was a really fun time!
Tuesday, December 31, 2013
Merry + Happy 2014!
Merry + Happy 2014 was this year's season greeting on my card. Years ago I helped with a photo project for my husband's family reunion. I has a collection of slides that needed to be converted to .jpeg files. I remembered seeing on very cool photo of a house in a very winter setting. It was Grandpa John's farmhouse. I printed it on a large 11"x13" format. I stared at it for several days trying to figure out how I could use it in my card. I started painting on it. I used acrylic tube paint with a medium clear glade to allow the paint to stay wet longer. It worked perfectly.
![]()
I used my camera to take a photo of the painting so I could download it on my laptop.
![]()
I decided to make the photo look like one from the 60's with the white border and date
|
I printed our greeting and a little something about the original photo on the back of the card. Cut, scored and folded about 100 cards.
I added glitter to the green glitter to the tree, white glitter to the roof on the house and black glittler on the snowman's hat. I printed on a canvas photo paper which gave a really nice finish.
I attached the photo to the card stock with double stick tape and some decorative tapes on two of the corners. I loved the way they turned out!
Subscribe to:
Posts (Atom)